In multi-cloud environments, organizations deploy their applications and services across various cloud platforms like AWS, Google Cloud, Azure, and Hetzner. Ensuring these instances are operating in the correct geographic locations is crucial for several reasons, including compliance with Service Level Agreements (SLAs), data sovereignty laws, and optimizing latency.
This blog post will guide you through the process of monitoring the location of your Linux cloud instances using Opvizor, leveraging Telegraf for data collection, and setting up alerts for location changes.
Importance of Monitoring Cloud Instance Locations#
Compliance with SLAs#
Service Level Agreements (SLAs) often specify that services must be run from particular geographic regions to meet regulatory and contractual requirements. Monitoring instance locations ensures compliance and avoids potential penalties.
Data Sovereignty#
Data sovereignty laws, such as GDPR in Europe, require that data must be stored within certain geographic boundaries. Unauthorized data transfers across borders can lead to severe legal consequences and fines.
Latency Optimization#
Running instances in the nearest geographic region to your users minimizes latency and improves application performance. Monitoring ensures that instances are correctly located for optimal user experience.
Disaster Recovery and Redundancy#
Geographic monitoring helps ensure that disaster recovery instances are deployed in different regions, providing redundancy and high availability.
Metadata Links for Cloud Vendors#
Each cloud vendor provides a metadata service that allows you to retrieve various information about your instances, including their geographic location. Here’s how to access metadata for each major cloud provider:
AWS#
AWS provides a comprehensive metadata service that you can query to retrieve instance information. The region can be obtained using the following command:
curl -s "http://169.254.169.254/latest/meta-data/placement/region"
Google Cloud#
Google Cloud’s metadata server provides similar capabilities. To get the zone (which includes region information), use:
curl -s -H "Metadata-Flavor: Google" "http://metadata.google.internal/computeMetadata/v1/instance/zone" | awk -F/ '{print $4}'
Azure#
Azure instances provide metadata through a specific endpoint:
curl -s -H "Metadata-Flavor: Google" "http://metadata.google.internal/computeMetadata/v1/instance/zone" | awk -F/ '{print $4}'
Hetzner Cloud#
For Hetzner Cloud, you can fetch the location metadata using their API depending on region or availability-zone (whatever you prefer):
curl -s http://169.254.169.254/hetzner/v1/metadata | grep region | awk '{print $2}' curl -s http://169.254.169.254/hetzner/v1/metadata | grep availability-zone | awk ‘{print $2}’
Integrating Location collection using Opvizor#
Telegraf, an open-source agent for collecting and sending metrics, is highly versatile and can be configured to fetch metadata from different cloud providers. Below are the steps to integrate Telegraf for collecting instance location metadata.
Step 1: Install Telegraf#
Install Telegraf on your system using the appropriate package manager.
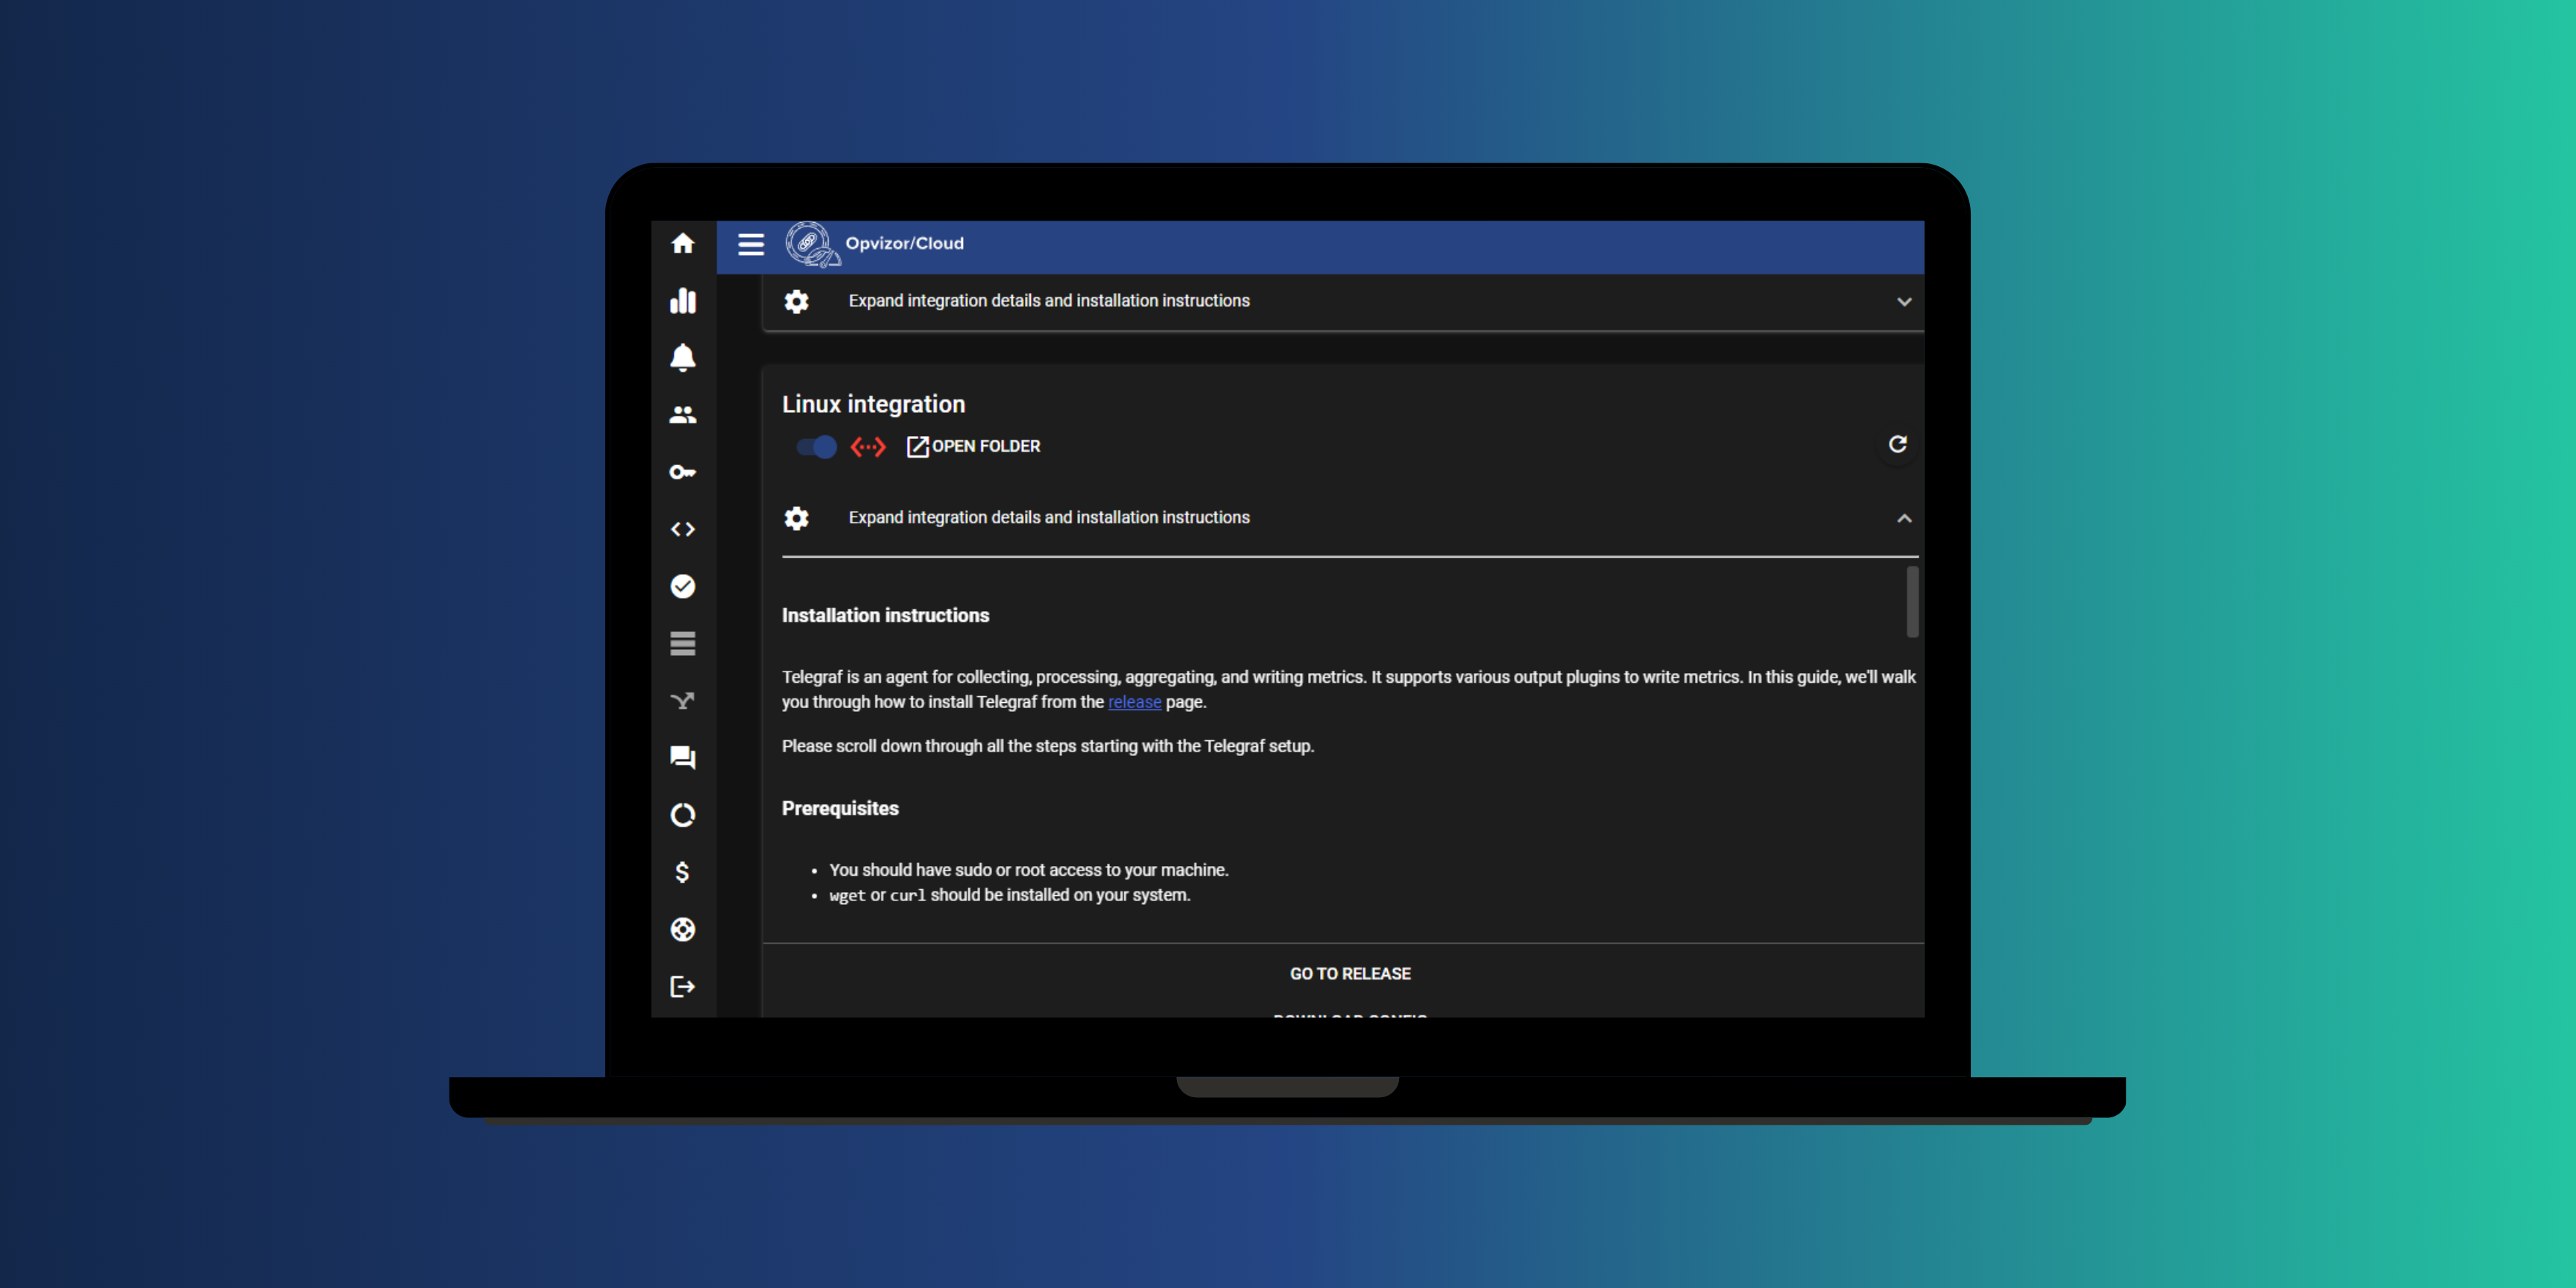
Detailed installation steps are here: Enabling your first integration
For Ubuntu or Debian the following script will install Telegraf:
`# influxdata-archive_compat.key GPG fingerprint:
9D53 9D90 D332 8DC7 D6C8 D3B9 D8FF 8E1F 7DF8 B07E
wget -q https://repos.influxdata.com/influxdata-archive_compat.key echo ‘393e8779c89ac8d958f81f942f9ad7fb82a25e133faddaf92e15b16e6ac9ce4c influxdata-archive_compat.key’ | sha256sum -c && cat influxdata-archive_compat.key | gpg –dearmor | sudo tee /etc/apt/trusted.gpg.d/influxdata-archive_compat.gpg > /dev/null echo ‘deb [signed-by=/etc/apt/trusted.gpg.d/influxdata-archive_compat.gpg] https://repos.influxdata.com/debian stable main’ | sudo tee /etc/apt/sources.list.d/influxdata.list sudo apt-get update && sudo apt-get install telegraf`
Download the Opvizor Telegraf config and overwrite /etc/telegraf/telegraf.conf
Step 2: Create a Combined Metadata Script#
Create a script named fetch_metadata.sh under /etc/telegraf/telegraf.d that detects the cloud provider and fetches the location metadata accordingly:
`#!/bin/bash
Function to fetch Hetzner Cloud metadata
fetch_hetzner_metadata() { local region=$(curl -s http://169.254.169.254/hetzner/v1/metadata | grep region | awk ‘{print $2}’) local availability_zone=$(curl -s http://169.254.169.254/hetzner/v1/metadata | grep availability-zone | awk ‘{print $2}’) echo “cloud_metadata,provider=hetzner,zone=${region},availability_zone=${availability_zone} status=1” }
Function to fetch Google Cloud metadata
fetch_gcloud_metadata() { local zone=$(curl -s -H “Metadata-Flavor: Google” “http://metadata.google.internal/computeMetadata/v1/instance/zone" | awk -F/ ‘{print $4}’) echo “cloud_metadata,provider=gcloud,zone=${zone} status=1” }
Function to fetch AWS metadata
fetch_aws_metadata() { local region=$(curl -s “http://169.254.169.254/latest/meta-data/placement/region”) echo “cloud_metadata,provider=aws,zone=${region} status=1” }
Function to fetch Azure metadata
fetch_azure_metadata() { local location=$(curl -s -H Metadata:true “http://169.254.169.254/metadata/instance/compute/location?api-version=2021-02-01” | jq -r ‘.location’) echo “cloud_metadata,provider=azure,zone=${location} status=1” }
Determine the cloud provider and fetch metadata
if curl -s -H “Metadata-Flavor: Google” “http://metadata.google.internal” >/dev/null 2>&1; then fetch_gcloud_metadata elif curl -s “http://169.254.169.254/latest/meta-data” >/dev/null 2>&1; then fetch_aws_metadata elif curl -s -H Metadata:true “http://169.254.169.254/metadata/instance?api-version=2021-02-01” >/dev/null 2>&1; then fetch_azure_metadata elif curl -s http://169.254.169.254/hetzner/v1/metadata >/dev/null 2>&1; then fetch_hetzner_metadata else echo “cloud_metadata,provider=unknown status=0” exit 1 fi`
Step 3: Configure Telegraf#
Update the Telegraf configuration file to include the inputs.exec plugin to run the metadata script. The best is to separate the files and create a config file just for the location, i. e. /etc/telegraf/telegraf.d/cloudlocation.conf:
[[inputs.exec]] commands = ["bash /etc/telegraf/telegraf.d/fetch_metadata.sh"] timeout = "5s" data_format = "influx"
Step 4: Restart Telegraf#
Restart the Telegraf service to apply the changes:
sudo systemctl restart telegraf
Monitoring Dashboard Opvizor/Cloud#
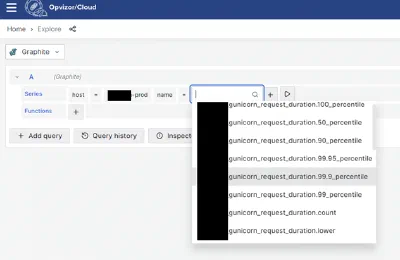
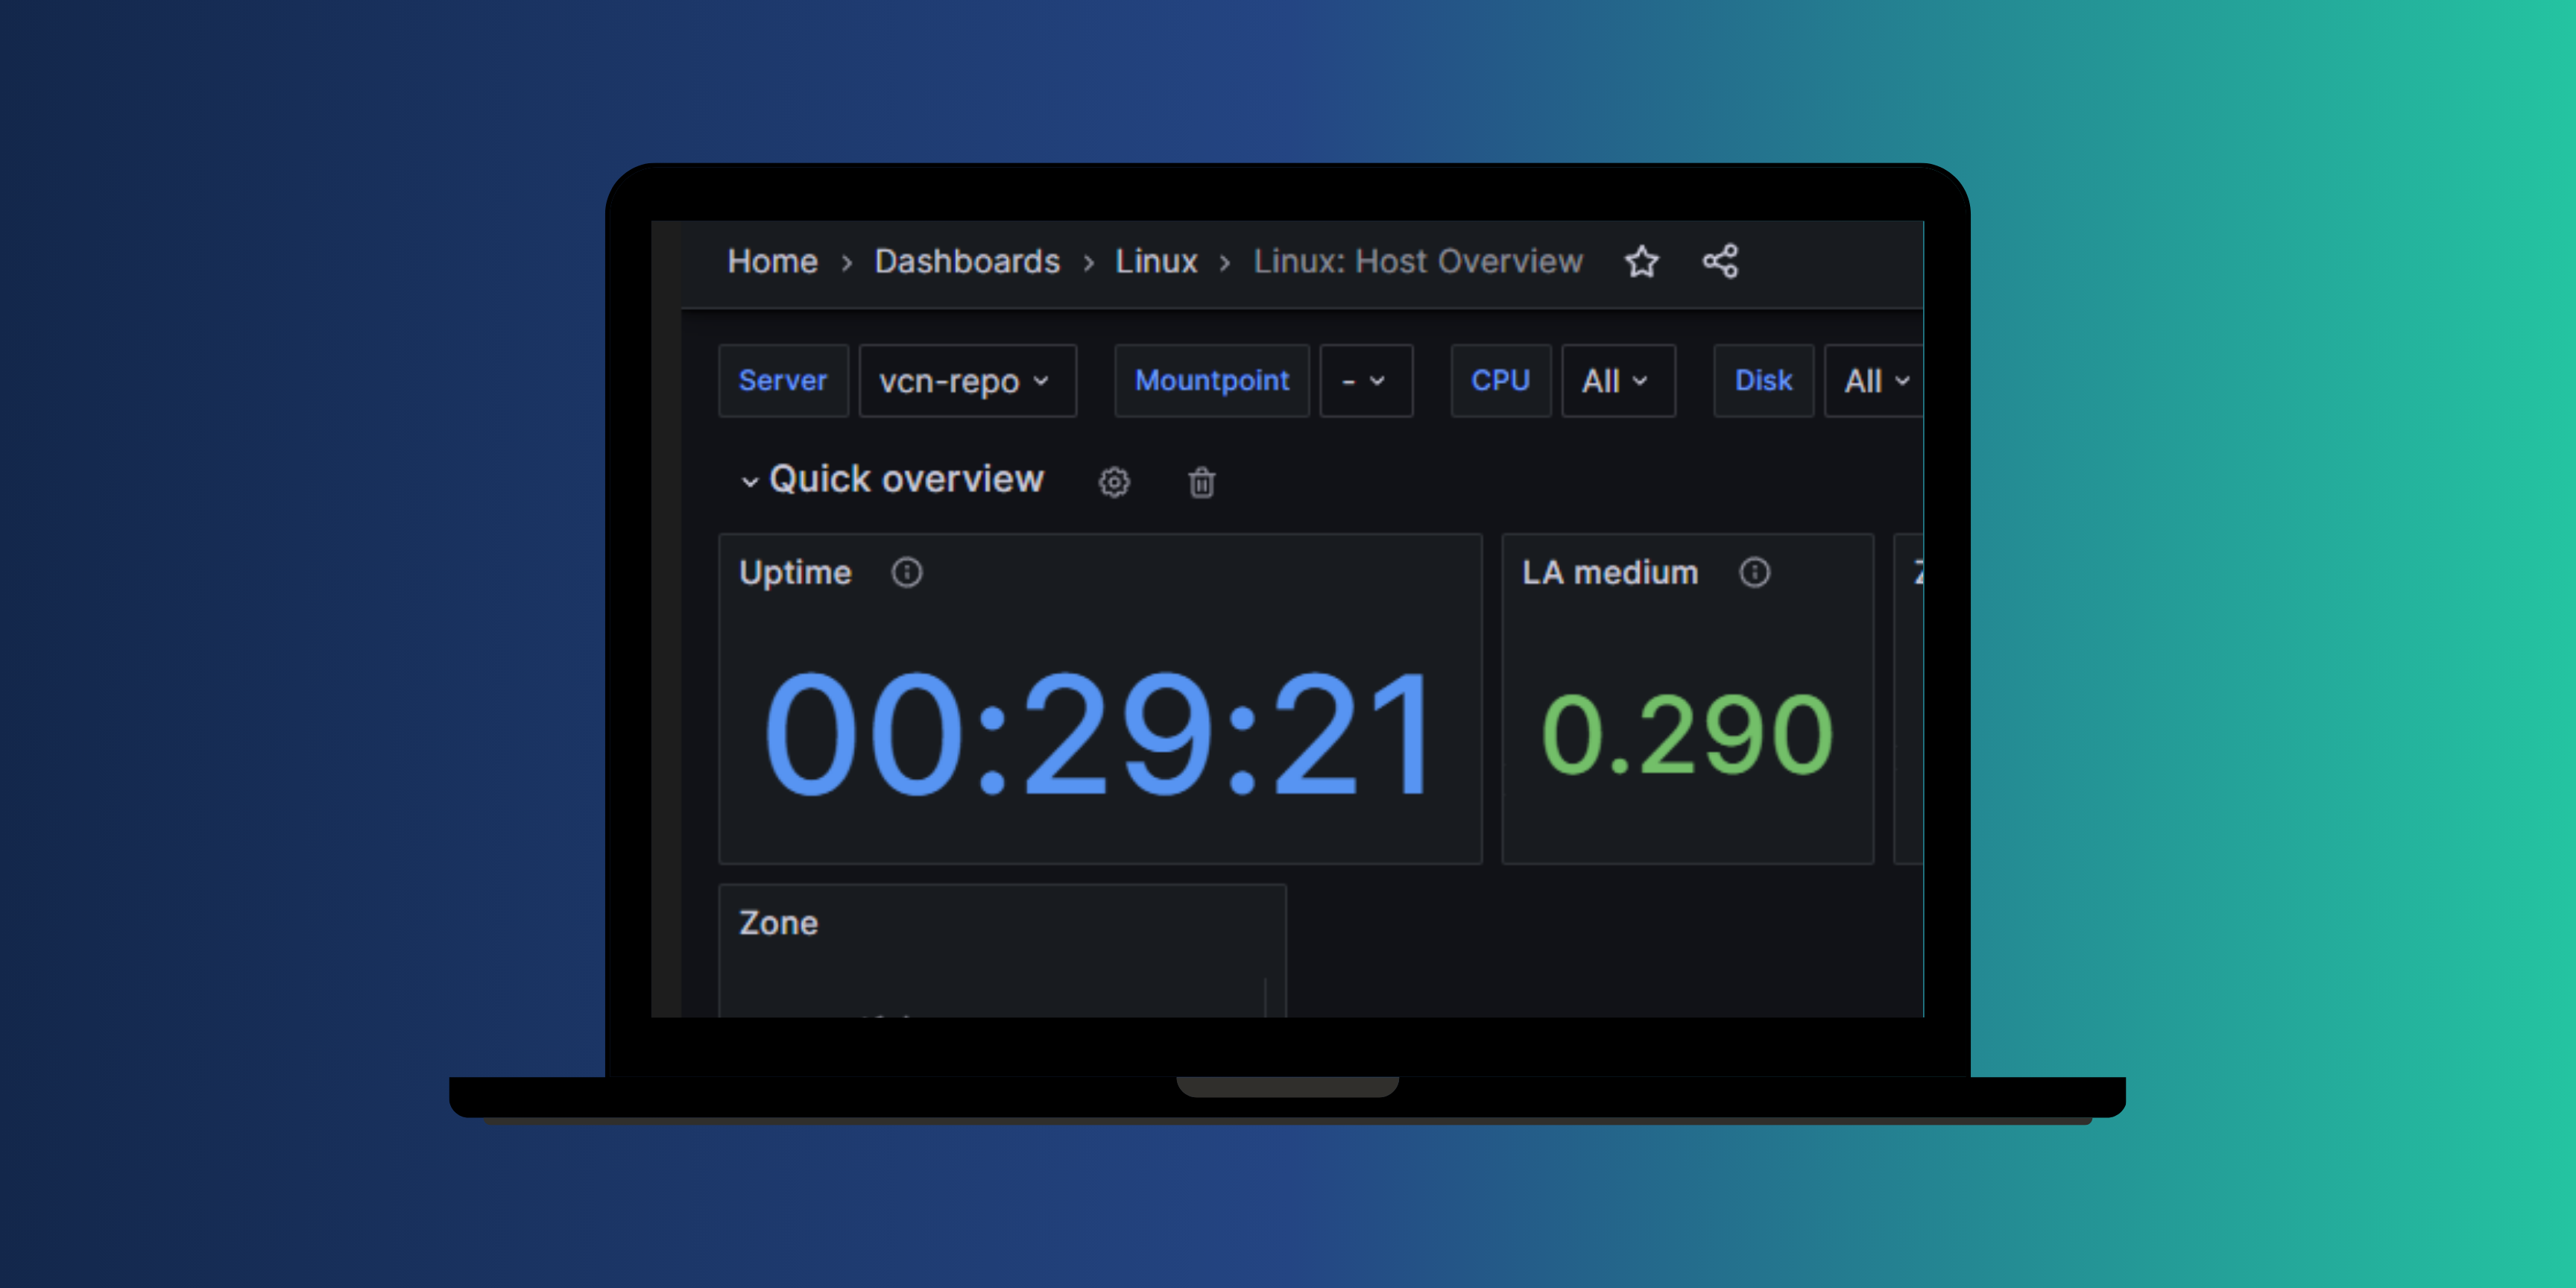
Opvizor provides advanced monitoring and alerting capabilities for your infrastructure. By integrating Telegraf with Opvizor, you can set up the dashboard to show the location of your instances.
A simple table allows for showing text instead of numbers and you can display the correct location using this query: groupByNode(seriesByTag(‘host=~${server:regex}’, ’name=opvagent.cloud_metadata.status’), 2, ’last’)
Conclusion#
Monitoring the geographic location of your cloud instances is crucial for maintaining compliance with SLAs, adhering to data sovereignty laws, optimizing latency, and ensuring disaster recovery protocols. By integrating Telegraf with Opvizor, you can automate the process of collecting and monitoring this metadata, ensuring that you are alerted to any unauthorized changes.
This approach not only helps in maintaining compliance and optimizing performance but also provides peace of mind by ensuring that your data and services are always where they should be. With the right tools and configurations, you can efficiently manage and monitor your multi-cloud environment.
Remember to regularly review and update your monitoring configurations and alerting rules to adapt to any changes in your cloud infrastructure or compliance requirements. This proactive approach will help you stay ahead of potential issues and ensure a robust and compliant cloud infrastructure.
We’ll continue our series with Microsoft Windows instances and how to set up alerting.